I had seen the handout at the back of the manual come home with my older kids in previous years. But I never realized the significance of all the symbols. I found someone who had put the symbols and what they mean on feet. So instead of just putting down feet that I had drawn, as the manual suggests, I printed out these feet and put them down for the kids to walk on after we discussed the principle and symbol on each one. I visited 3 of my kids after church, and these feet made it easy to give them a quick overview of the lesson they missed. I just gave them one of the print outs from the back of the manual, went through the feet to tell them what each symbol was, and then gave them my handout. They were each pretty excited that I came over, and I think their parents were too.
You can use the following link to find the feet downloads : https://docs.google.com/file/d/0BxBEjfFre9jybWdSYmVkTWJ3TlE/edit They are shown on this blog: http://murrayandmathews.blogspot.com/2011/12/primary-2-lesson-12.html
For the kids in my class on Sunday, after we had the lesson with the feet (footsteps towards baptism), I traced each of their feet on a piece of paper and then they colored, cut out, and glued the symbols from the handout in the lesson manual onto their traced feet. I had 8 kids there, but drawing around their feet went pretty quickly. Since it is the 6 and 7 year olds, both their feet fit on one piece of paper. I decided that they would probably remember the idea of the footsteps towards baptism better if the pictures were on feet, instead of just on a Xerox paper. It also made it more meaningful to them, because they were all pretty proud of their feet!
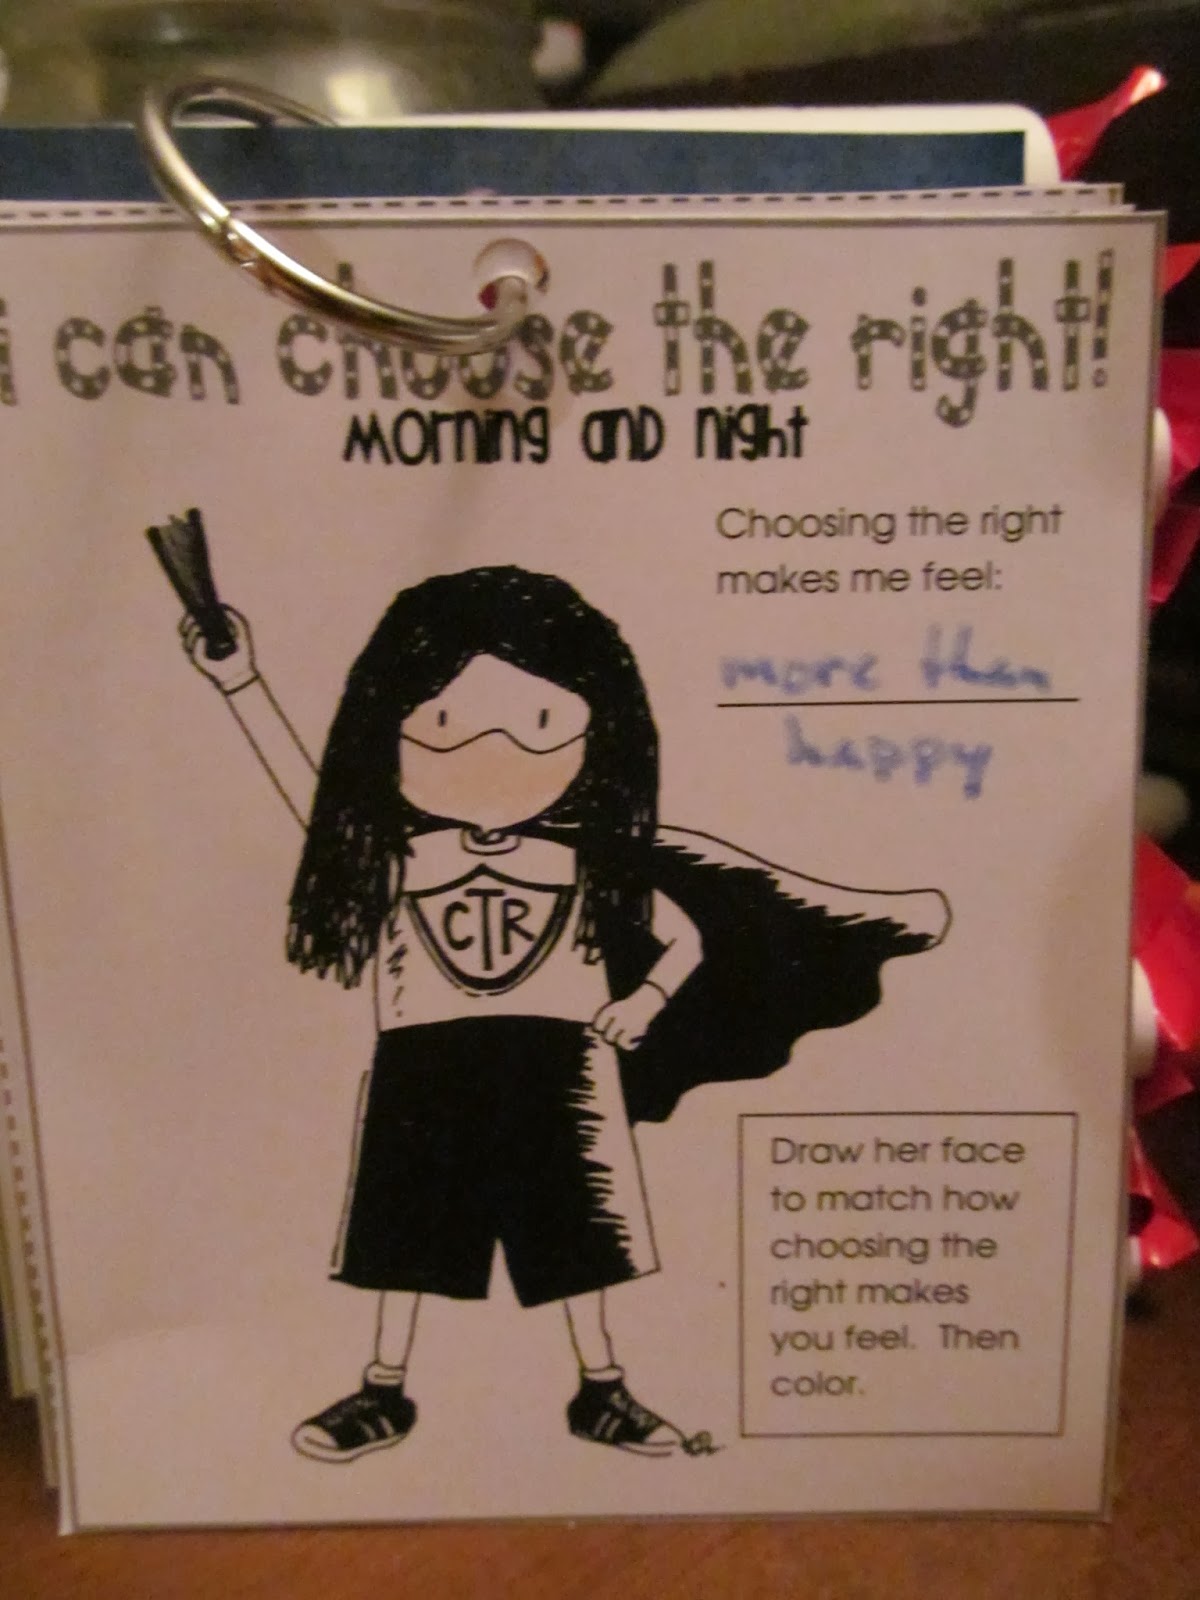
These are the pages that I put into their CTR book this week ( see this post: http://alan-walker-family.blogspot.com/2014/01/new-year-new-goals-new-calling.html and this link: http://www.sugardoodle.net/joomla/index.php?option=com_content&view=article&id=7918&Itemid=200018
They only colored the picture on this one. I am going to laminate it and put it into the book blank. I am going to give them a dry erase marker with the book at the end of the year, and then they can do the puzzles as quiet activities over and over again.
These three with the blue border are from the baptism book I mentioned in the above blog post. It can be found here: http://www.theideadoorfiles.com/index.php/quite-book-s-4-x-6-photo-book-s/141-quite-book-s/quite-book-s-4-x-6-photo-book-s/290-baptism-book-4-x-6-photo-cards
We put the first two in the book on Sunday. The last one (What is Baptism) I am going to have them fill out together at the beginning of class this Sunday as a review of baptism before we start the lesson on the Holy Ghost, and then we will put it in the book.
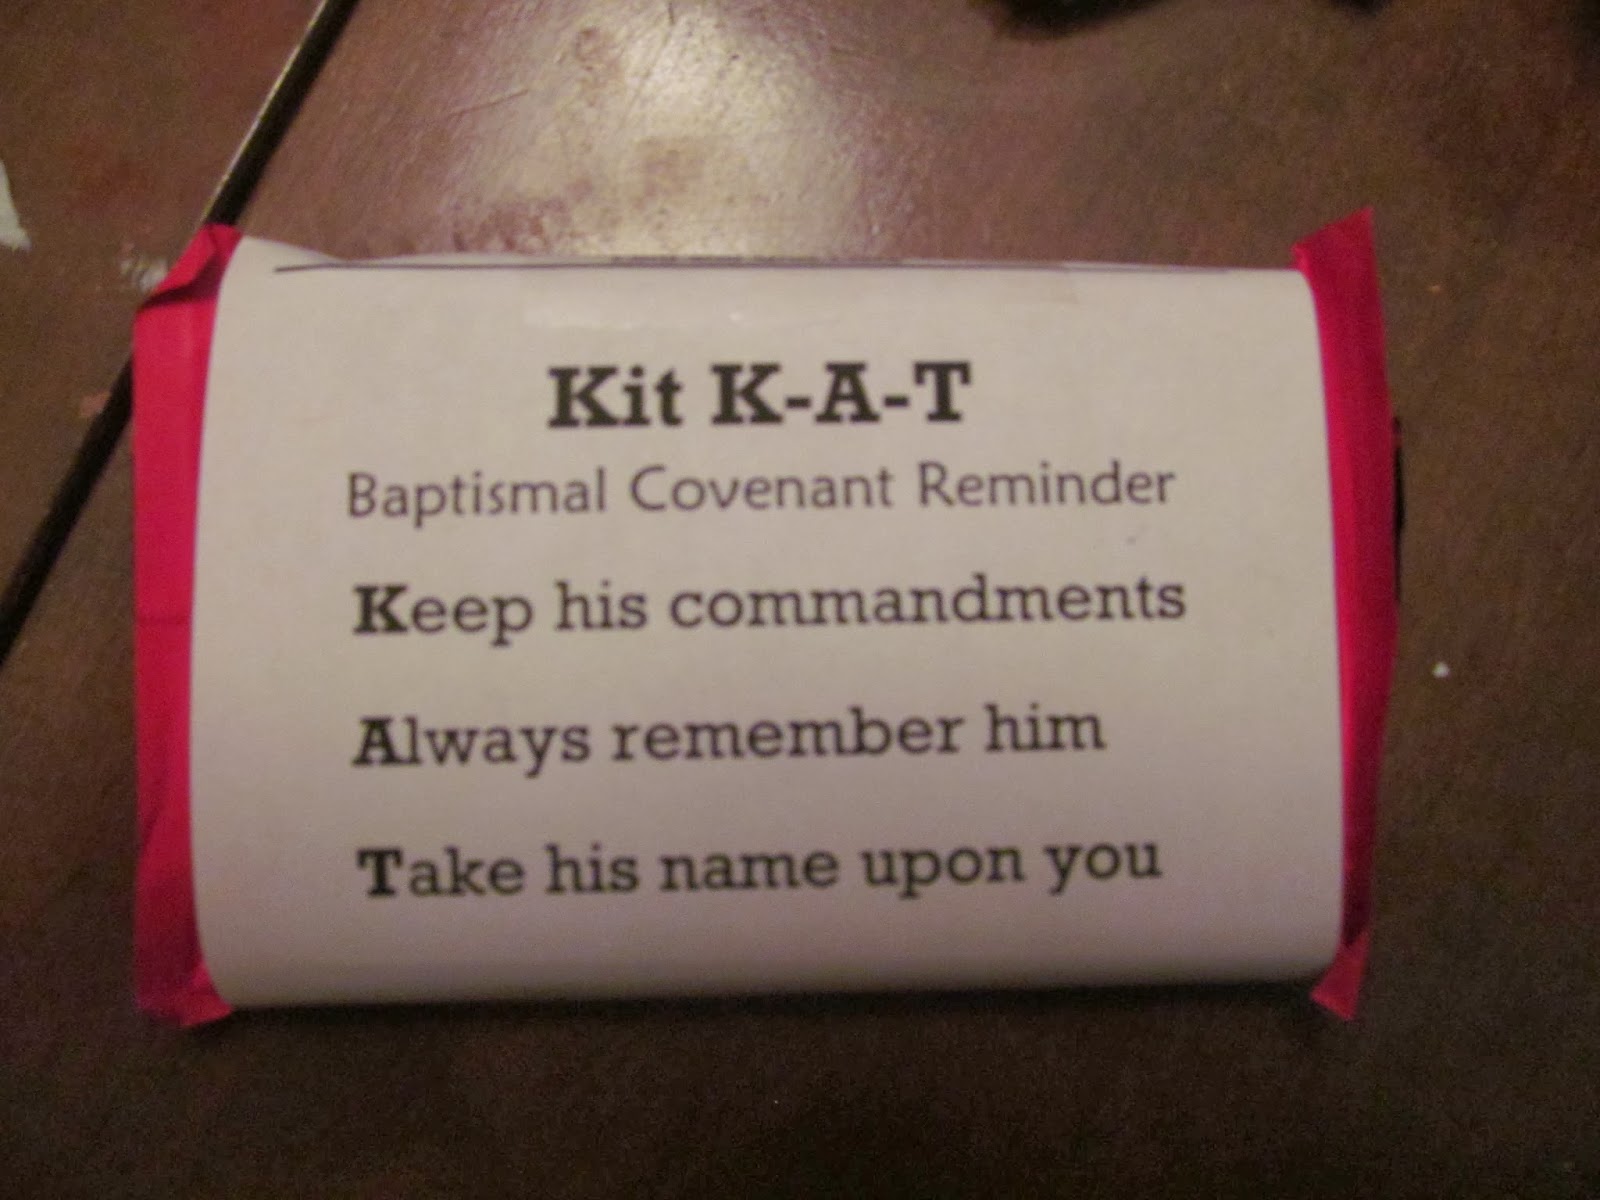
I did the Kit Kat baptism handout found here - http://www.sugardoodle.net/joomla/index.php?option=com_content&task=view&id=8467 - for the kids to take home. They were easy, and turned out cute. The kids were excited, and they even saved the baptism wrapper, taking it off very carefully.
The wrappers are set up to be used on regular size Kit Kat bars (with 4 pieces inside).The 4 pieces go along with the 4th article of Faith listed on the back of the wrapper.
It was a fun handout to prepare, and the kids were excited that I was actually giving them a candy bar. I didn't let them eat them in class, though, because I didn't want to make any parents mad. They took them home, and no one has complained yet.
I think they learned something, because Ben taught our Family Home Evening lesson this week (he is in my primary class), and he used the stuff we learned in class to do a lesson on baptism. He did a great job, and remembered the things we had talked about pretty well. It is hard for me to believe he is going to be baptized in a few weeks.


